COPAL PRODUCTS 20 YEARS OF EXCELLENCE !

Installation of heating cable with t-25 staplerHeat your bathroom floorSnow melting with heating panels COPAL balconyClimbing wall in GFRCHEATWAVE desk heater


DESCRIPTIONINSTALLATIONSTANDARD THERMOSTATstep by step
 

COPAL FLOOR HEATING CABLE INSTALLATION

Installation

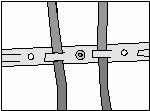
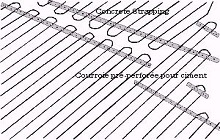
Verify the net measure of the room. For example:in the bathroom, take the complete square footage(meters); reduce the square footage of the bath,toilet,vanity,etc.You will get the net measure.Check on the COPAL CHART HEATING CABLE if the square footage is equivalent or less than the calculated net measure.For large areas to be heated, you can use a combination of two cables as long as the surface square footage as shown on the chart does not exceed the net square footage.


Wood floor installation requires a wire stapler t-25 which is specially made for attaching wire. Fix the cable in regular 2 or 3 inch spaces. see sketch #1

t-25 stapler

 cable

Concrete floor installation require pre-punched strapping for easy and fast installation. Screw or glue directly on concrete every 3 feet. Use the spacer hook to hold the cable in place.


strapping

 strapping

Adhesive application.

Apply the adhesive with a dented scraper (3/8 or 1/2 inches)the same direction the cable travels.

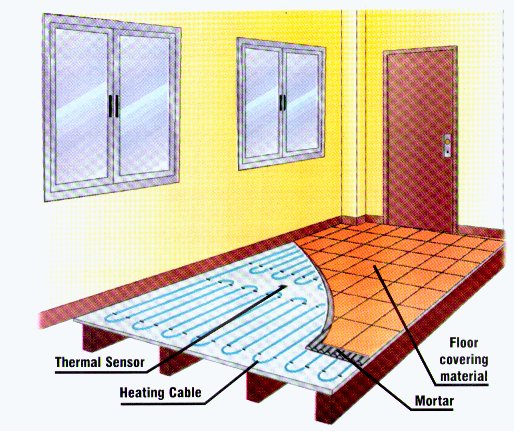
It is recommended that you determine the drying time of the adhesive from the manufacturer's instructions before powering up the cable(s).

installation

 installation

Connection

The tension and current strength must agree with the requirementof cable. Always commit the electrical connection to a qualified personnel. The CO cable are approved CSA C22.2 NO 130.2
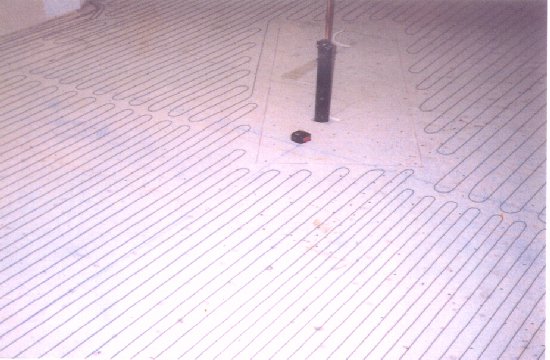
Verification :

The COPAL heating cable is made with the best quality materials and has been strictly inspected and tested before shipping. Install COPAL heating cables with the same caution appropriate for « electrical » and « heating » products.. It is essential that a megger test is performed before and after the placing of the cable, to ensure that the cable in functioning normally. The heating cable MUST NOT be cut or damaged in any way, prior, during or after installation. The cold lead can be cut any length. The identification label must remain in junction box.

Types of floor coverings

Ceramic
Natural Stones
Vinyl
Floating Floor
Linoleum
Parquetry
Engineered wood
Laminated floor P.S.   A thin-set self levelling compound must be use over the heating cable prior to installing the thin foam and the laminated floor.


Installation Surfaces

Plywood
Smooth Concrete
Prestressed concrete panels
Ceramic
Sand mix

Advantages

Comfortable floor.

Reduction of humidity.

Needs no concrete.

Easy to install.

Independant control.

Approved CSA C22.2 No l30.2

PRECAUTIONS :

Never install outdoors.

Never install under a shower without membrane over the heating cable.

Leave at least 8 inches space in front of all active heating ducts.

Never install furniture that can block the air circulation.

25 YEARS WARRANTY:

COPAL Canada Ltd warrants the heating cable to the original buyer against any manufacturing and /or labor defect for a 25 years period. Please refer to warranty terms and conditions.

SKETCH

BACK | HOME | NEXT
Products | Cable Description| Thermostat| Cable Installation| Cable Choice| Distributors, Contacts et Autorized Stores| Snow melting Panels| Foot-Warmer| Rail Track Heater


info@copal.ca

If you have any questions, please feel free to contact us

COPAL welcomes new distributor outside QUEBEC !

COPAL CANADA LTEE

65 Daoust

ST-EUSTACHE

Phone 450-473-2330

Fax 450-473-6441

Toll free (Canada & Usa) 1-866-243-2330

Monday to Friday 7H30 am. to 4H00 pm.

Map

QC.CANADA