The square footage of the heated area must be calculated.
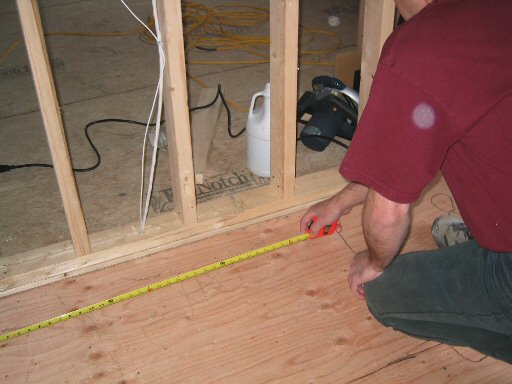
The unheated area must be substracted from the total surface area of the room.
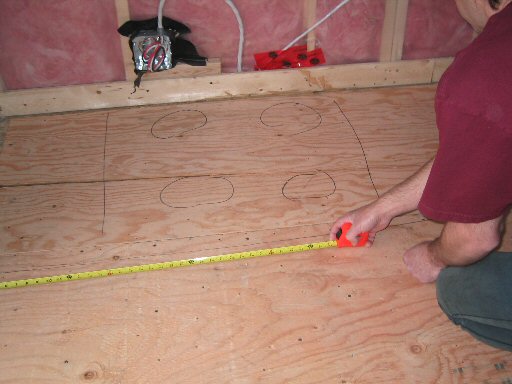
Vérify on the
MODELS CHART and choose the cable where the corresponding surface
square footage is equal to or slightly less than the net square footage
of the room.
Determine your needs:
Two inches installation (50mm) = Main heating
Three inches installation (75mm) = Secondary heating
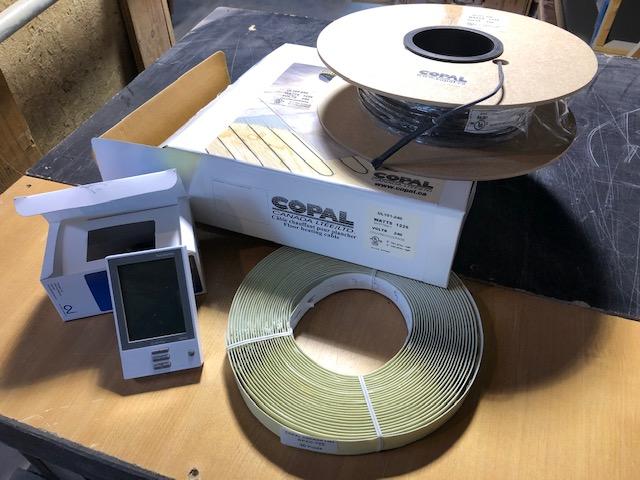
120 ou 240 volts model .
(240 volts model is recommended for surface bigger than 100
square/feet)
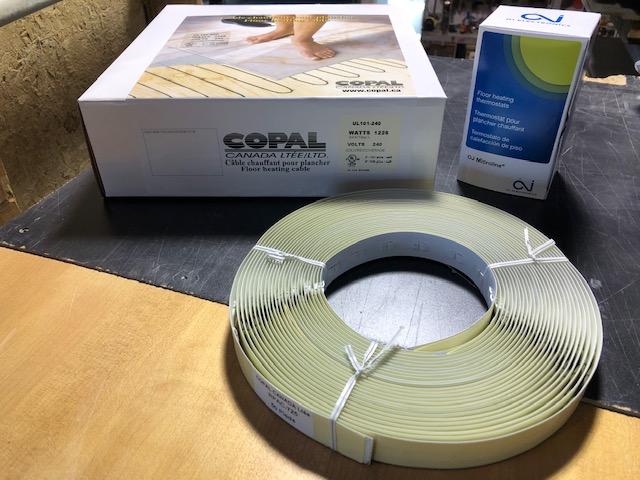
Materials need:
T-25 stapler with 7/16 ou 3/8 inch tack
Drill
Hammer
Screwdriver
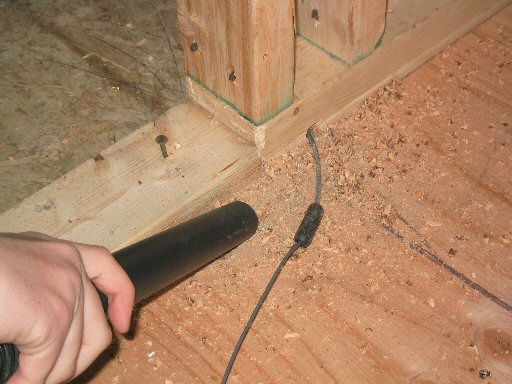
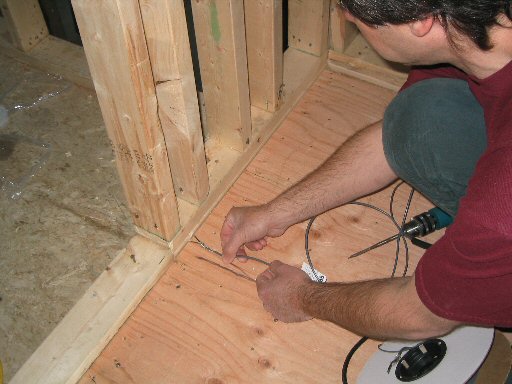
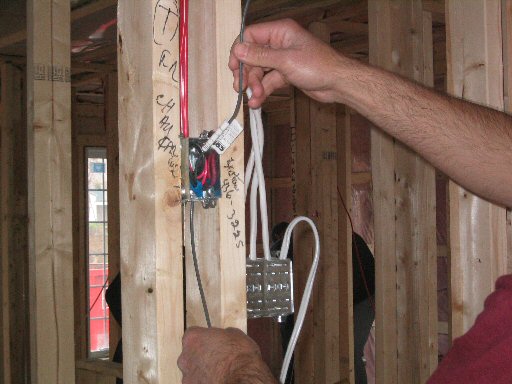
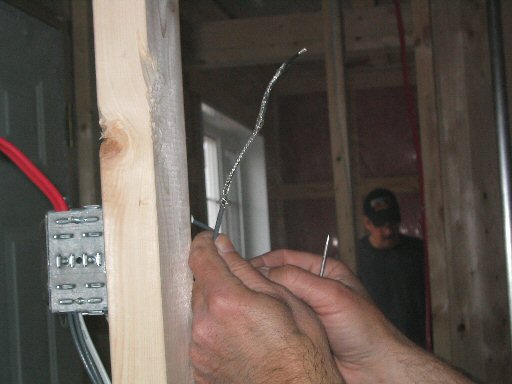
Prevent a space or an hole to insert the cold lead in the wall and
in the metal box of the thermostat.
If your wall is already finished, you must install a rop or something
to pull the cold lead and the sensor to the metal box of the thermostat
at the end of the installation.
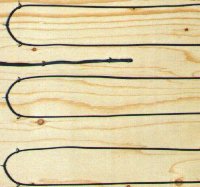
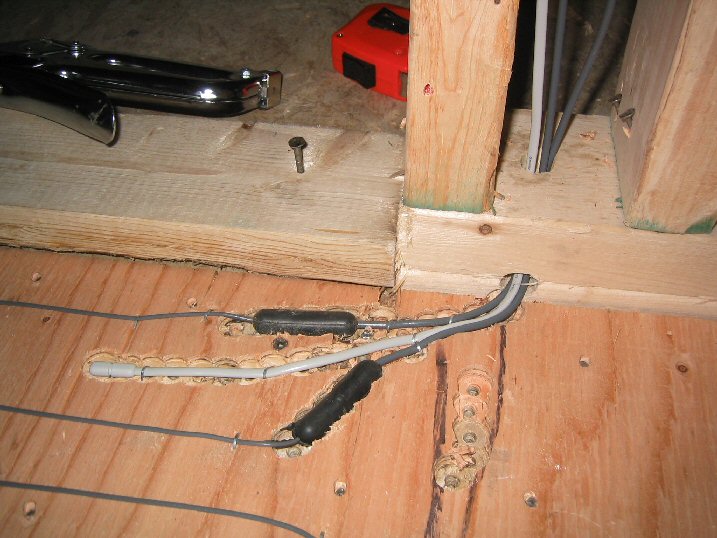
Drill two holes of 1/2 inch deep by 2 inchs long to
insert the two rubber splice, one at the start and one at the end of
the cable.
The splice can also be installed in the bottom of the wall.

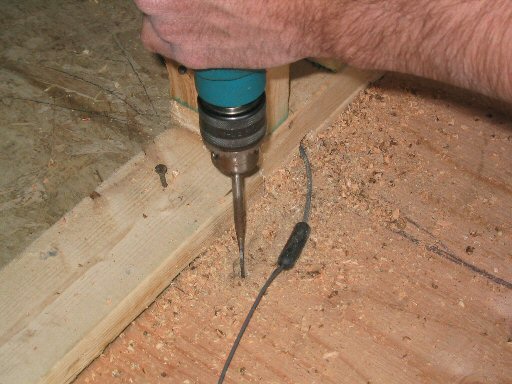
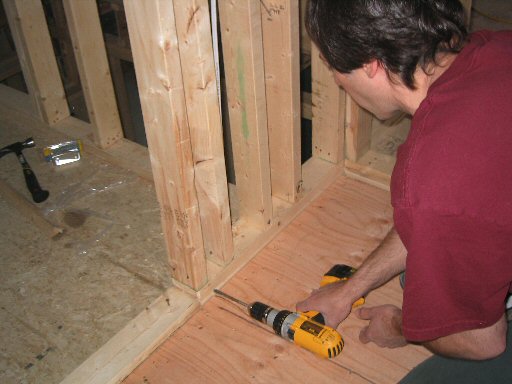
Clean the dirt on the floor.
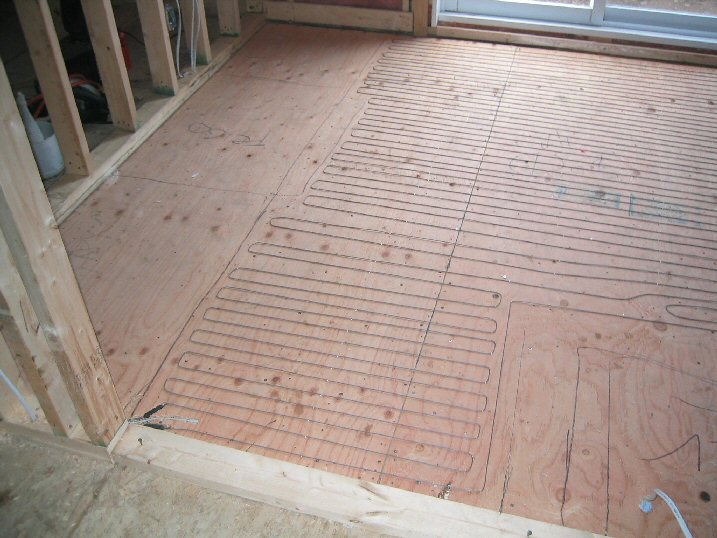
Beginning the installation
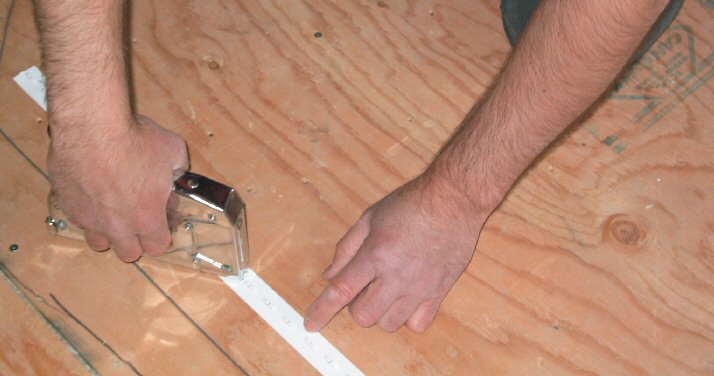
Fix the strap with a stapler or self-adhesive tape when you have a
concrete floor.Using a spray contact glue will improve the adhesion to the floor.
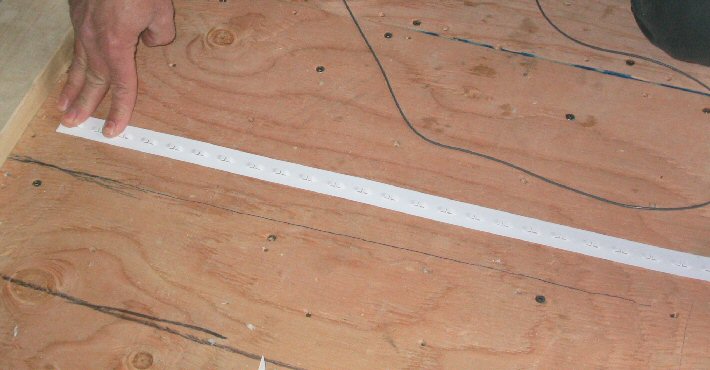

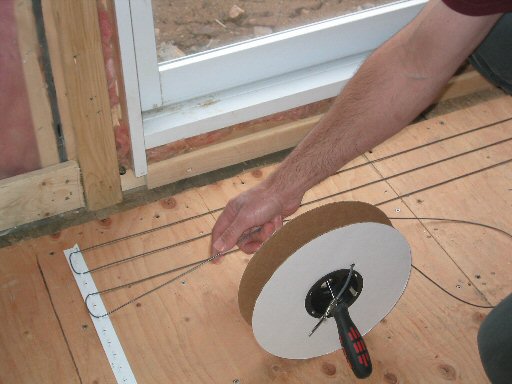
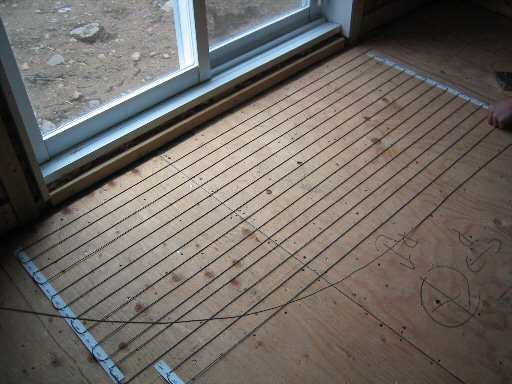
The installation can be done without the strap, mark the floor each two inches or three inches according your needs.
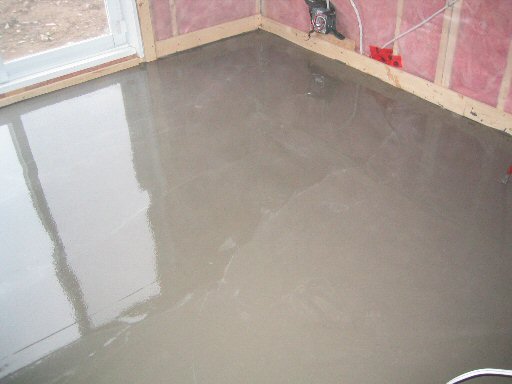
Installation finished.
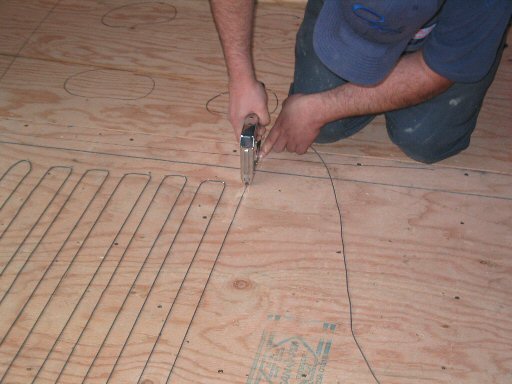
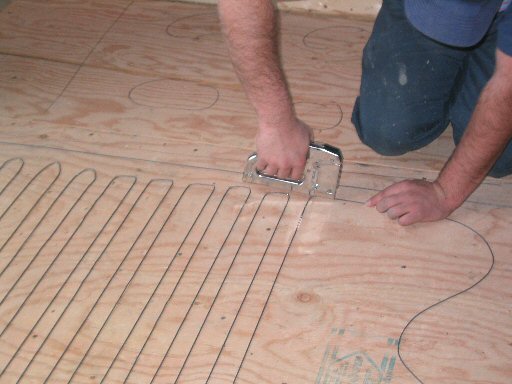
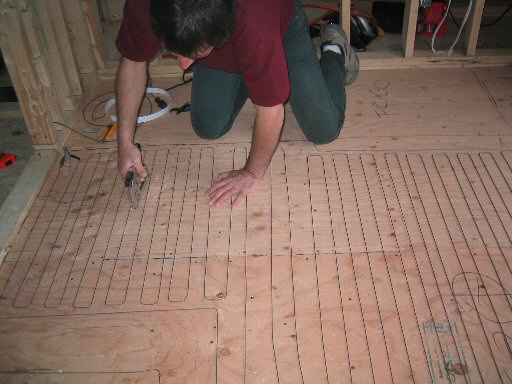
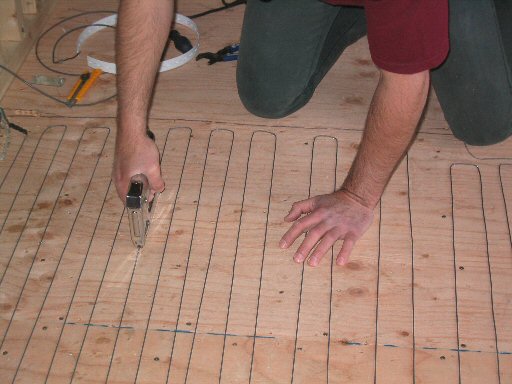
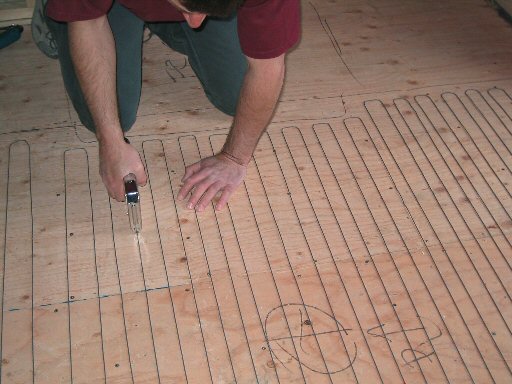
Staple the wire each four feet to ensure that the cable will stay in
place.
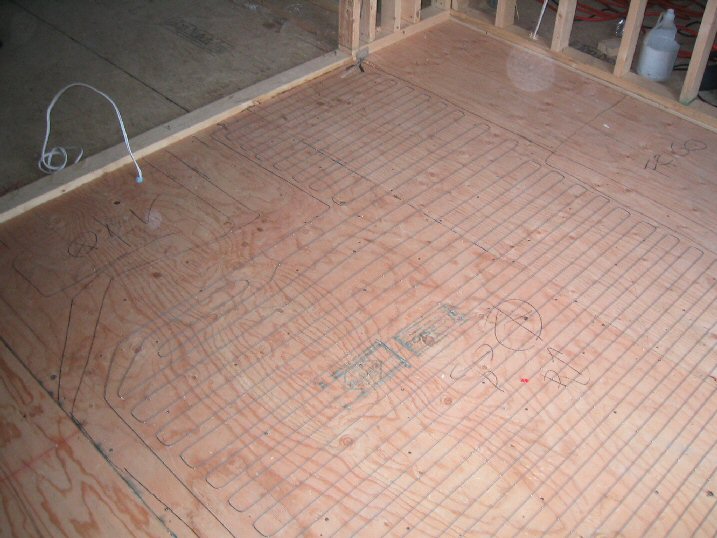
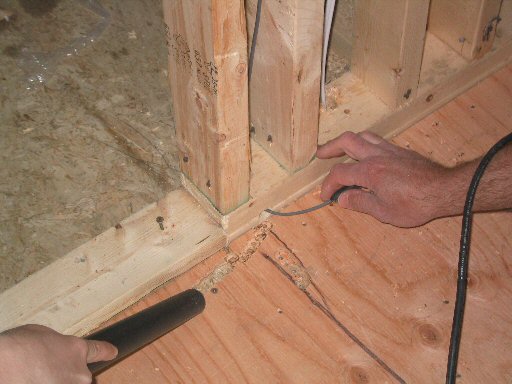
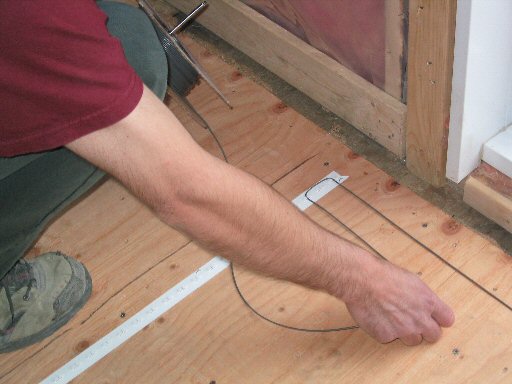
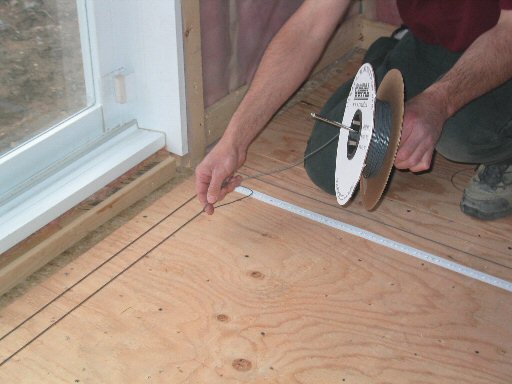
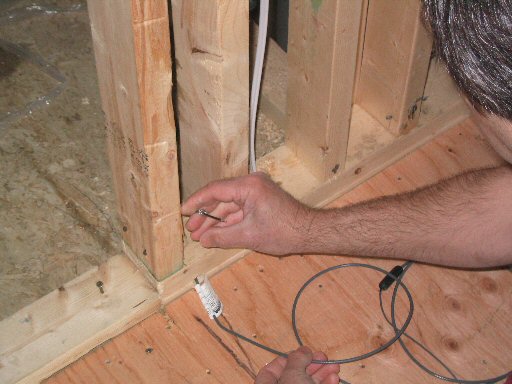
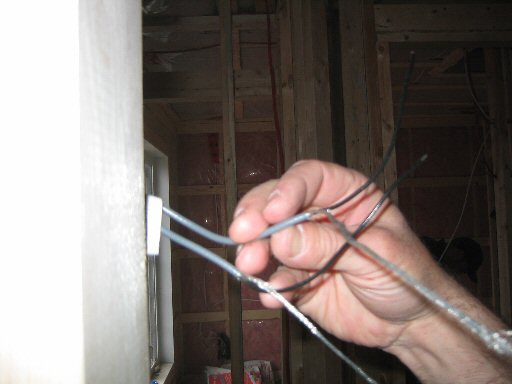
Install the sensor between two heating cable near the thermostat.
Insert the cold lead and the sensor in the wall up to the
junction box with the help of your rop installed before.
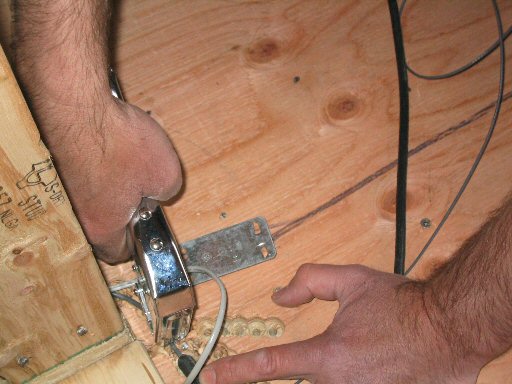
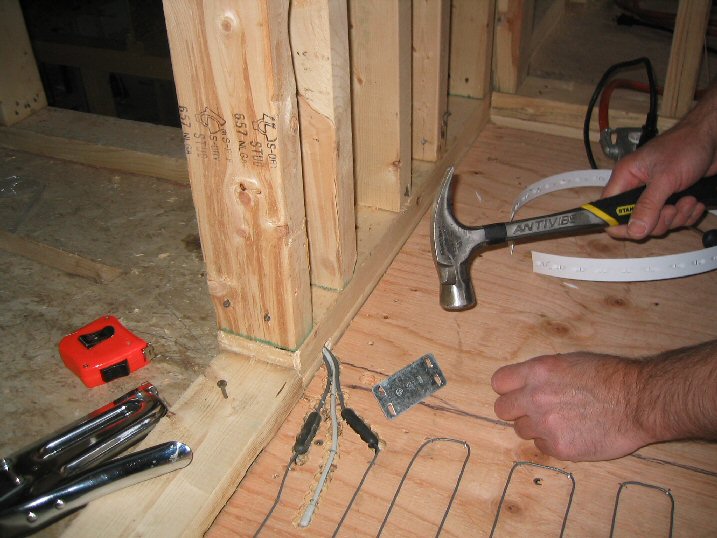
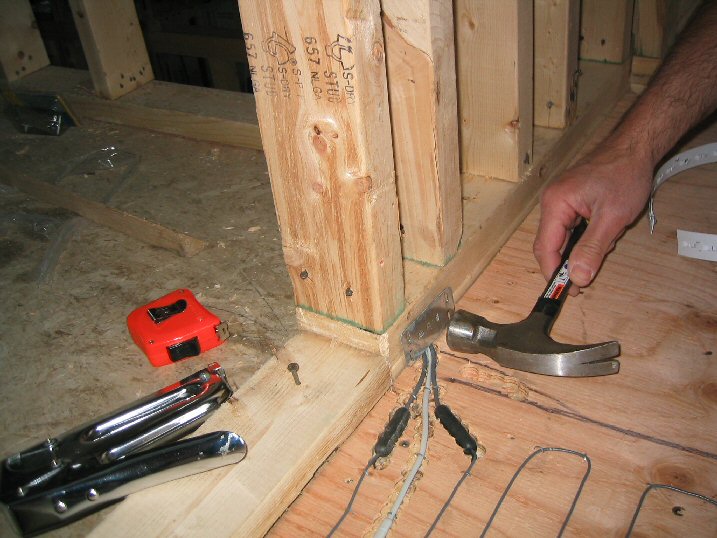
Installation finished, protect the wire with a standard metal plate.
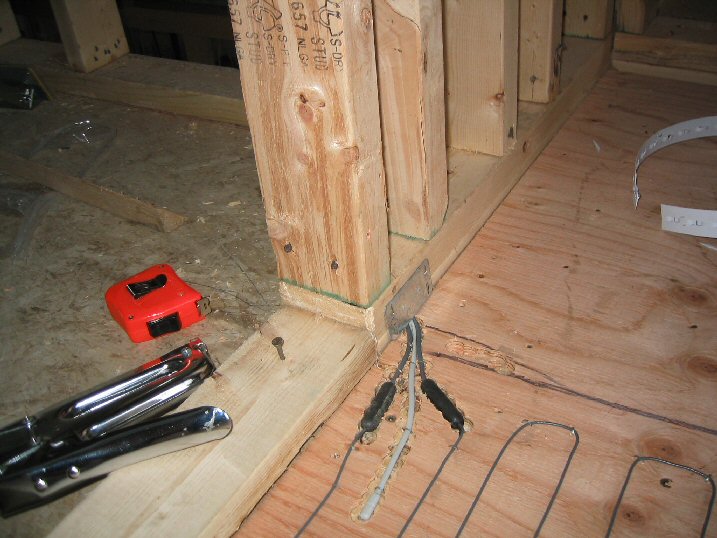
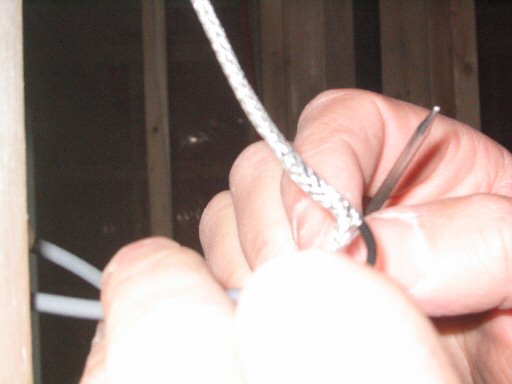
Cold lead metallic ground
Unsheathe 3 or 4 inches of the
metallic ground of the cold lead with something pointed and fix it to
the screw of the metal junction box.
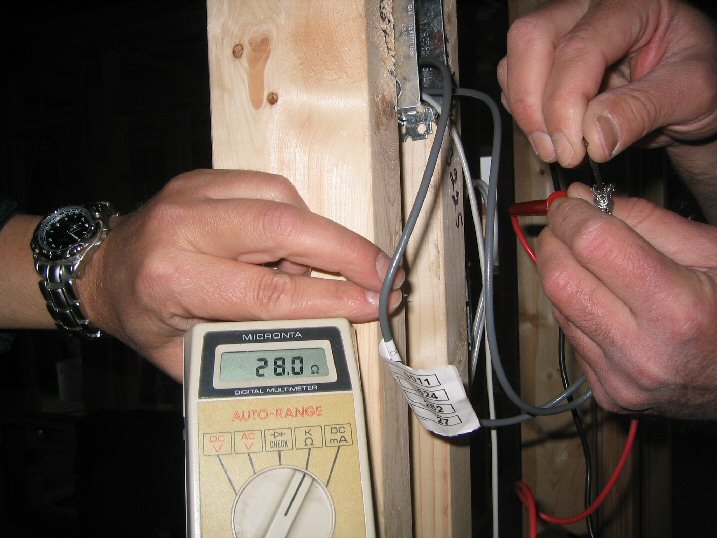
Resistance test must be done with a multimeter.
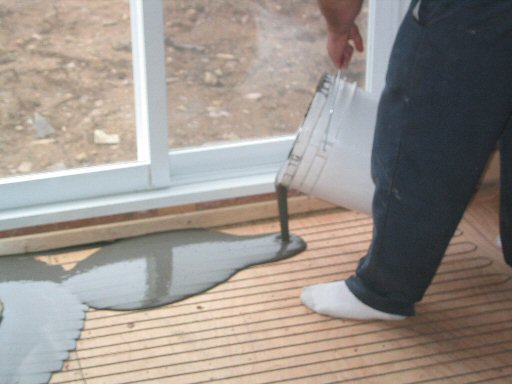
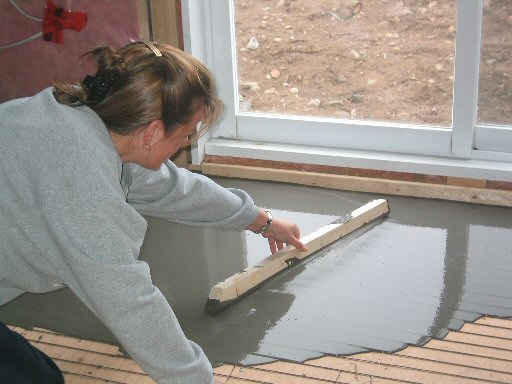
It's not an obligation but the utilisation of self-nivelling
concrete is recommended .
The installation of the ceramic will be more easy.
It will nivell your floor.
There is less chance of accidentally nicking the cable with the
trowel. It is much easier to ensure the tiles are layed level.
It protect the cable.
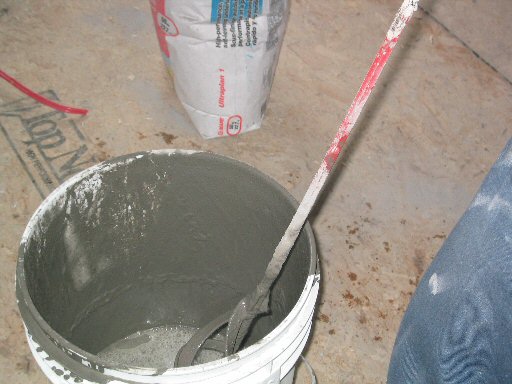
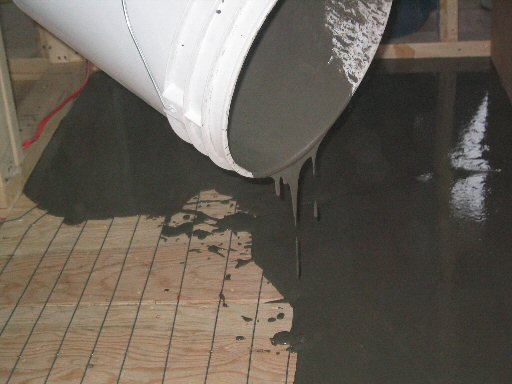
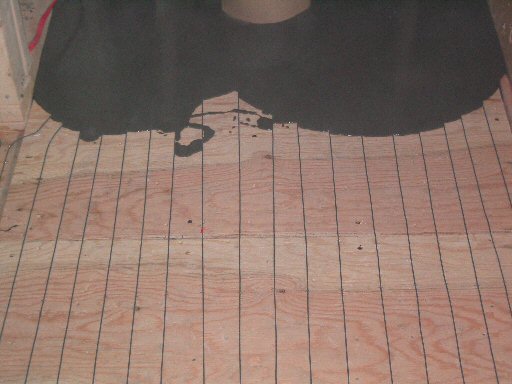
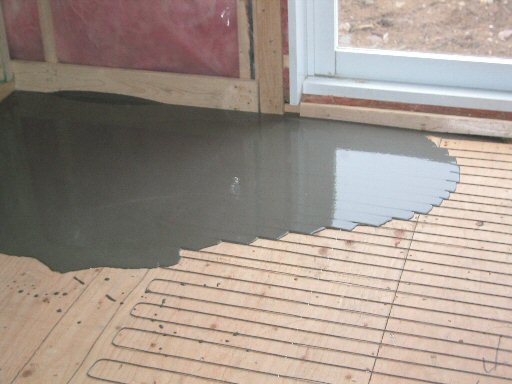
The COPAL cable is very small so it need a thin lay of self-nivelling concrete : 1/8pouce(3mm)